DIY Guide to Installing Laminate Flooring in UAE:Complete Guide
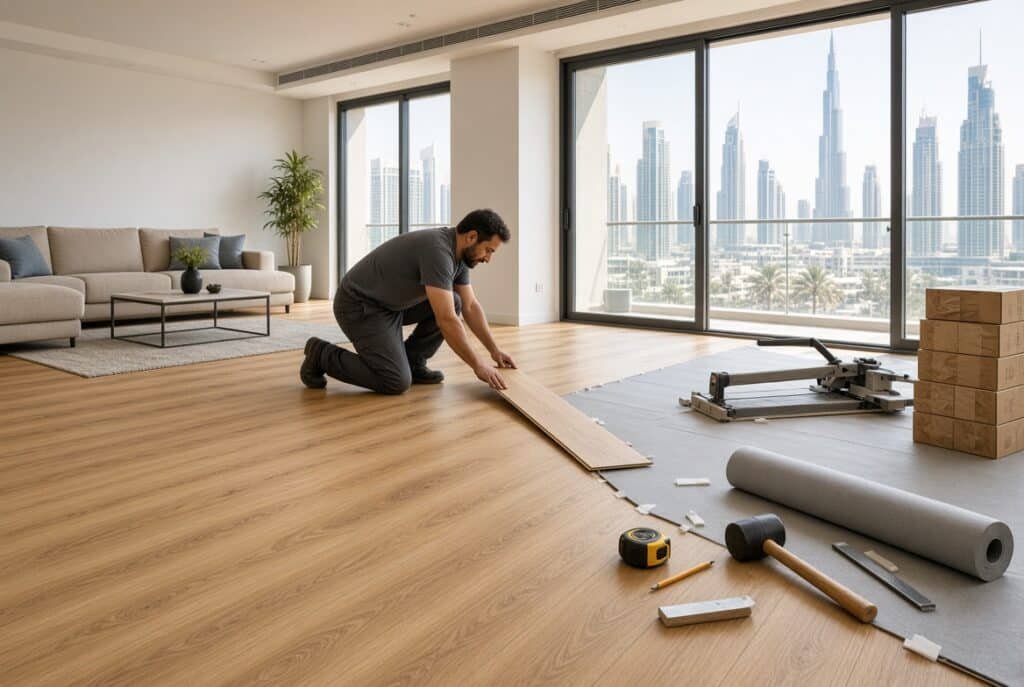
Laminate flooring has a well-earned reputation as one of the more approachable materials to install yourself. It clicks together without glue or nails, doesn’t require specialized tools, and can transform a room in a weekend rather than weeks. That’s exactly why so many UAE homeowners consider tackling it as a DIY project instead of hiring an installer.
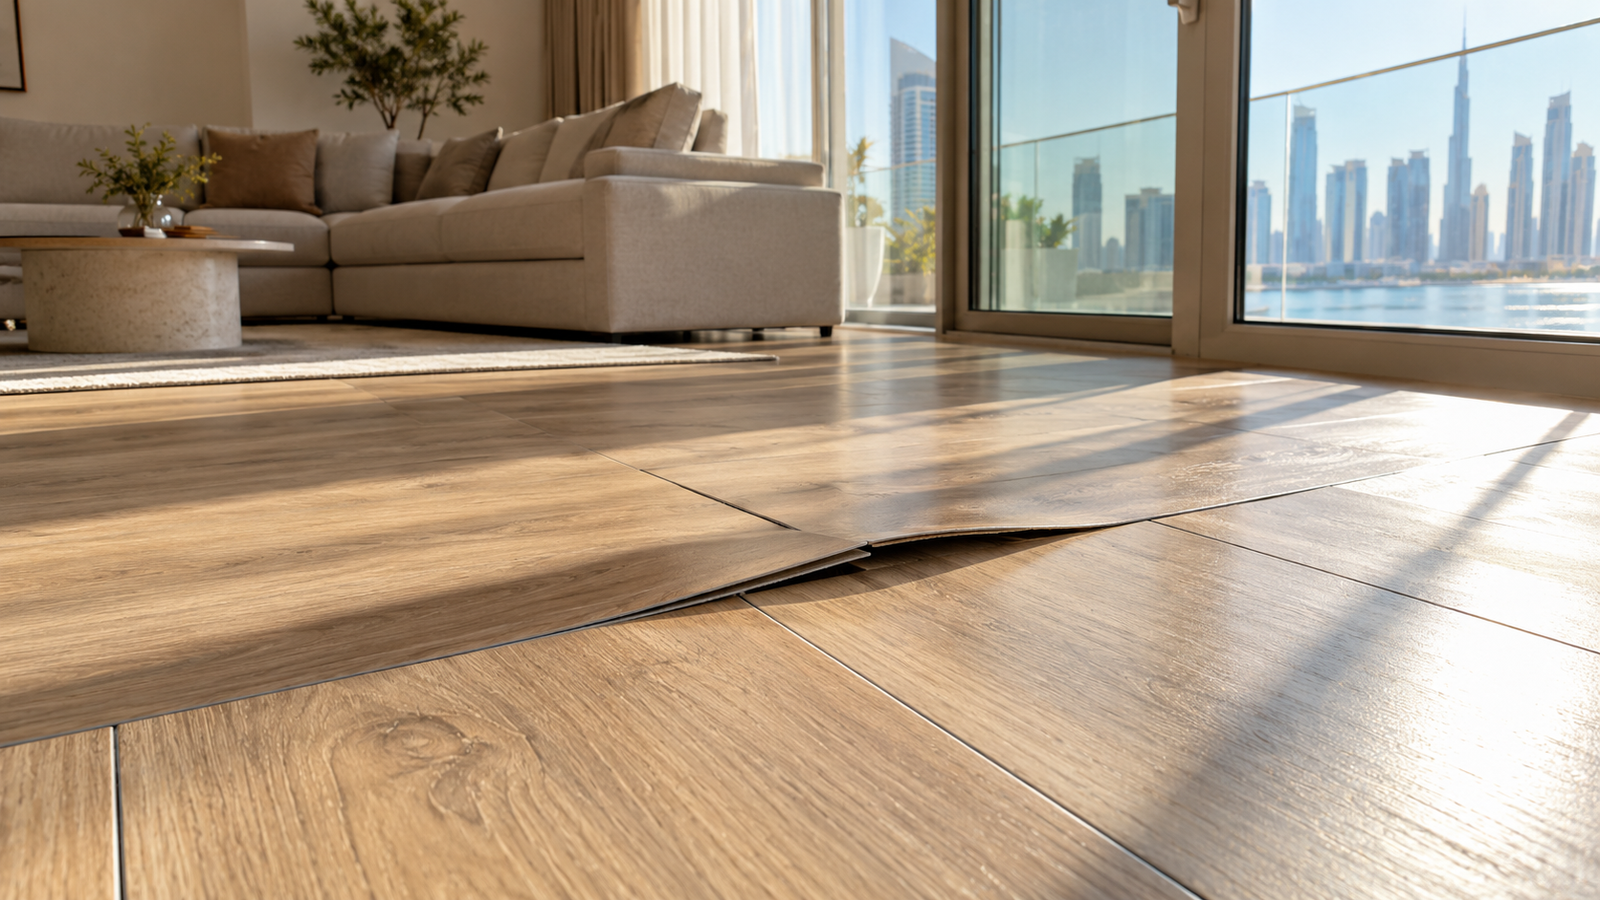
That said, “approachable” doesn’t mean “foolproof” especially in the UAE, where heat, humidity, and air conditioning create conditions that punish shortcuts far more than they would in a milder climate. A laminate floor installed without the right prep or expansion allowances can look perfect for the first few months, then start gapping, buckling, or lifting once the first real summer hits.
This guide walks through exactly how to install laminate flooring yourself, the climate-specific precautions that matter most in the UAE, and just as importantly how to tell when a project is better left to a professional installer.
Is DIY Laminate Installation Right for Your Project?
Before picking up a tape measure, it’s worth being honest about whether DIY installation actually makes sense for your space. It tends to work best when:
The room is a simple rectangular or near-rectangular shape, without complex angles or multiple transitions
The subfloor is already flat, dry, and in reasonably good condition
You’re comfortable using basic tools and have a free weekend or two to dedicate to the project
The space isn’t a high-value area where a small installation error would be costly to fix, such as a large open-plan living area or a rental unit that needs to look flawless for tenants
It tends to make less sense when the room has multiple doorways, stairs, curved walls, underfloor heating, or a subfloor that needs leveling situations where a small mistake early on compounds into a much bigger problem by the time the last plank goes down.
Tools and Materials You’ll Need
Having everything ready before you start prevents the most common DIY frustration: stopping halfway through a room because you’re missing something.
Tools:
Tape measure and pencil
Utility knife or laminate cutter
Circular saw or jigsaw for straight and detail cuts
Rubber mallet and tapping block
Pull bar for tight spaces near walls
Spacers (8-12mm, depending on room size) to maintain expansion gaps
Moisture meter, particularly important given UAE humidity levels
Knee pads, since most of the work happens at floor level
Materials:
Laminate flooring planks, with roughly 10% extra ordered to account for cuts and waste
Underlayment, ideally a moisture-resistant type suited to UAE conditions
Vapor barrier, especially important if installing over concrete
Skirting boards or beading to finish the edges
Transition strips for doorways or where flooring meets another material
Step-by-Step DIY Laminate Flooring Installation
1. Acclimatize the Flooring
Laminate needs time to adjust to the room’s temperature and humidity before installation, particularly in the UAE where indoor air-conditioned environments differ significantly from how planks may have been stored or transported.
Leave laminate boxes unopened in the room where they’ll be installed for at least 48 to 72 hours
Keep the air conditioning running at a normal, consistent setting during this period, not switched off to save costs
Skipping this step is one of the most common causes of gapping or buckling months after installation
2. Prepare and Check the Subfloor
A flat, dry, clean subfloor is the single biggest factor in how well a laminate floor performs long term.
Remove existing flooring, skirting boards, and any adhesive residue
Check for flatness using a long level or straightedge most laminate manufacturers require no more than a 3mm variation across a 1-meter span
Use a moisture meter to check subfloor moisture levels, particularly important on ground-floor concrete slabs in the UAE, where residual moisture can be higher than expected
Fill any low spots with a suitable leveling compound and allow it to cure fully before proceeding
3. Lay the Vapor Barrier and Underlayment
Roll out the vapor barrier first if installing over concrete, overlapping seams and taping them to create a continuous moisture-blocking layer
Lay the underlayment on top, butting edges together without overlapping, to create an even, cushioned base
Trim underlayment neatly at the walls rather than leaving excess bunched at the edges
4. Plan Your Layout Before Cutting Anything
Measure the room and calculate how wide the last row of planks will be if it’s going to be a very narrow sliver, adjust your starting point so both the first and last rows end up a more balanced width
Decide on plank direction, typically running parallel to the longest wall or the main source of natural light, to make the room feel larger
Stagger the joints between rows by at least 30cm to avoid a repetitive, unnatural pattern and to improve structural stability
5. Install the First Row
Start in the left corner of the room, with the tongue side facing the wall
Use spacers along the wall to maintain a consistent expansion gap, typically 8-12mm depending on room size and manufacturer recommendations
Click each plank into place along the row, checking regularly that the row stays straight
6. Continue Row by Row
Use the leftover cut piece from the end of one row to start the next row where possible, minimizing waste
Use a tapping block and rubber mallet to click each plank firmly into place without damaging the edges
Use a pull bar for the last plank in each row, where there isn’t enough room to use a mallet directly
7. Cut Around Obstacles
Measure carefully around door frames, pipes, and vents, and cut with a jigsaw for irregular shapes
For door frames, consider undercutting the frame slightly so the plank can slide underneath for a cleaner finish than cutting the plank to match the frame’s shape
Always double-check measurements before cutting laminate can’t be un-cut if you get it wrong
Install skirting boards or beading to cover the expansion gap around the perimeter
Add transition strips at doorways or wherever the laminate meets another flooring type
9. Let the Floor Settle
Avoid heavy furniture or foot traffic immediately after installation
Allow the floor a short settling period, typically 24 hours, before fully furnishing the room
UAE-Specific Precautions Every DIYer Should Know
A handful of climate-specific details matter more in the UAE than they would in a cooler, drier country, and skipping them is where most DIY laminate projects run into trouble.
Never skip acclimatization, even if you’re eager to finish the project in a weekend inadequate acclimatization is the single most common cause of laminate problems in this climate
Always check subfloor moisture, particularly on ground floors and in older buildings, since residual concrete moisture is more common in the UAE than many DIYers expect
Respect expansion gaps around the entire perimeter, not just the walls — this includes around pipes, kitchen islands, and door frames, since laminate needs room to expand and contract with temperature swings from air conditioning
Avoid installing laminate in bathrooms or areas with heavy water exposure, since even waterproof laminate ranges aren’t designed for prolonged standing water the way SPC or vinyl are
Keep the air conditioning running normally during and after installation, rather than turning it off, since stable indoor conditions help the flooring settle correctly
Common DIY Laminate Installation Mistakes
Skipping or rushing acclimatization, leading to gapping or buckling once the room reaches normal temperature and humidity cycles
Ignoring subfloor moisture levels, which can cause long-term damage that isn’t visible until months after installation
Not leaving enough expansion gap, particularly around fixed objects like kitchen islands or door frames, causing buckling as the floor naturally expands
Installing directly over an uneven subfloor, resulting in a hollow, unstable feel and premature wear at high points
Cutting the first row without planning the last row, ending up with an awkwardly narrow strip of planks against the far wall
Using the wrong underlayment, or skipping a vapor barrier over concrete, both of which increase the risk of moisture-related issues over time
Rushing the layout stage, leading to visible seams lining up in a repetitive pattern that looks unnatural once the floor is finished
When to Call a Professional Instead of DIYing
DIY installation can work well for smaller, simpler rooms, but there are situations where hiring a professional is genuinely the smarter choice rather than just the easier one:
Large or complex spaces, where layout planning, waste calculation, and consistent execution across a bigger area increase the risk of costly mistakes
Rooms with underfloor heating, which requires specific installation techniques and compatible underlayment that most DIYers aren’t familiar with
Uneven or damaged subfloors that need professional leveling before any flooring can go down
Rental properties or resale homes, where a flawless finish matters more for tenant appeal or property value than the cost savings of doing it yourself
Time-sensitive projects, since a professional team can typically complete a full room in a fraction of the time a first-time DIYer would need
Warranty considerations, since many manufacturer warranties require professional installation to remain valid, and workmanship warranties from flooring companies only apply to their own installed work
If a project ticks several of these boxes, the cost of hiring a professional installer is often smaller than the cost of fixing a DIY mistake after the fact — particularly once materials, tools, and lost time are factored in.
DIY vs Professional Installation: Weighing the Trade-Offs
Cost DIY installation saves on labor costs upfront, but mistakes, tool purchases, and wasted material can close that gap quickly, especially for first-time installers
Time a professional team typically installs a room in hours rather than the full day or weekend a DIY project usually takes
Finish quality professional installers handle detail work like undercutting door frames, tight transitions, and consistent expansion gaps more precisely than most DIYers achieve on a first attempt
Warranty protection professional installation typically comes with a workmanship warranty, while DIY installation places that risk entirely on the homeowner
Climate-specific expertise an experienced local installer already accounts for UAE-specific factors like subfloor moisture and acclimatization as standard practice, rather than something a DIYer has to research and get right independently
Frequently Asked Questions
Can I install laminate flooring myself in the UAE?
Yes, laminate flooring is one of the more DIY-friendly flooring types thanks to its click-lock installation system, though UAE-specific factors like subfloor moisture and acclimatization need extra attention compared to installing in a milder climate.
How long does laminate flooring need to acclimatize before installation in the UAE?
Most manufacturers recommend at least 48 to 72 hours of acclimatization in the room where it will be installed, with the air conditioning running at a normal, consistent setting throughout that period.
What expansion gap is needed for laminate flooring in the UAE?
Typically 8 to 12mm around the perimeter of the room, though this can vary by manufacturer and room size, and the gap should be maintained around all fixed objects, not just the walls.
Is laminate flooring suitable for bathrooms in the UAE?
Generally, no. Even waterproof laminate ranges aren’t designed for prolonged standing water, making SPC or vinyl flooring a more suitable choice for bathrooms and other high-moisture areas.
How do I check if my subfloor is ready for laminate installation?
Use a moisture meter to check subfloor moisture levels, particularly important on ground-floor concrete slabs in the UAE, and check flatness with a straightedge, since most manufacturers require no more than a 3mm variation across a 1-meter span.
What tools do I need for a DIY laminate flooring installation?
At minimum, a tape measure, utility knife or laminate cutter, saw for detail cuts, rubber mallet, tapping block, pull bar, spacers, and a moisture meter, along with the flooring, underlayment, and vapor barrier materials themselves.
Does DIY laminate installation void the manufacturer warranty?
It depends on the manufacturer. Some warranties require professional installation to remain valid, so it’s worth checking the specific product’s warranty terms before starting a DIY project.
When should I hire a professional instead of installing laminate myself?
Professional installation is generally the better choice for large or complex rooms, spaces with underfloor heating, uneven subfloors needing leveling, rental or resale properties, and any project where warranty protection or a flawless finish matters more than the cost savings of doing it yourself.
Final Thoughts: DIY Can Work, but the UAE Climate Leaves Little Room for Shortcuts
Installing laminate flooring yourself is absolutely achievable for the right project — a straightforward room, a solid subfloor, and a willingness to follow each step carefully rather than rushing to the finish line. The steps themselves aren’t complicated, but the UAE’s climate is far less forgiving of skipped acclimatization, ignored subfloor moisture, or tight expansion gaps than a cooler, drier environment would be.
If your project checks the boxes for a manageable DIY job, following this guide closely will give you a strong result. But if you’re dealing with a larger space, a tricky subfloor, or simply want the peace of mind that comes with a warranty-backed, professionally finished floor, it’s worth getting a second opinion before committing to the DIY route.
At Urban Floors, we supply and install laminate, SPC, vinyl, and engineered wood flooring across the UAE, with free home samples, transparent pricing, and installation teams trained specifically for the climate conditions here. If you’d rather leave the acclimatization, subfloor prep, and precision cutting to the professionals, get your free quote today.